The neat thing about altered journals is you can do whatever you want. You can have all hand art work, collage, hard and soft ephemera. They can have a theme or be a mixed collection of whatever comes to mind. You can make them just to be browsed through or interactive. They are YOUR creation and they should reflect YOU. In my opinion, that is the only ‘rule’ to art journaling.
I like a theme. Though we’ve talked earlier about me trying to break out of the OCD mode a bit when it comes to my art and I want to do a ‘rambling’ kind of journal soon. But this particular book I’m working on now has a theme. ME. Being a writer, I wanted it to incorporate words, letters, and anything else that describes me.
Looking through the book I hope you’ll see that I like Vintage. The other things I like will be showcased through collaged words, phrases, quotes and tags. You’ll also see I like things that are torn and interactive. I want you to enjoying your journey through my book as much as I had creating it.
To make a book interactive, you need to have things that move. I have mine broken down into 2 categories: pockets with tags and things that open. Today is all about pockets.
In this book I’ve created five types of pockets. The first is a single pocket.
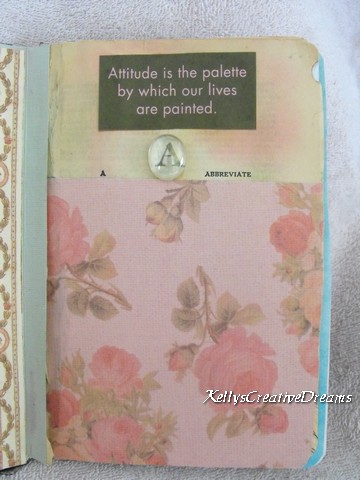
This is suitable for one tag or pull-out. I’ll set the town with my A pocket by inserting the A tag from the A-Z swap.
Then there’s the Multi-depth pocket.

This shows 3 staggered pockets on the right hand page. Each pocket is slightly shallower than the one below it. Whatever I choose to slip into the pockets will be partly visible, making it part of the overall layout.
The Double pocket.

Here I’ve created a diagonal pocket, then I’ve layered a second pocket over it from the bottom of the page. It’s works like any other pocket in it’s use, but it does provide a different perspective in the layout.
The envelope pocket is great for adding in additional smaller pages within a layout.

I’ve created a triangular shaped book to slide into a pocket on either side of the spine. I’ve mimicked the shape in the design of the page itself.
The Up and Down pocket.

This is one of my favorites! Because it’s different. In the Up and Down pocket, you’ll notice on the left-hand side you’ll see that a tag would pull out from the top of the pocket but on the facing page it pulls from the bottom. Just another way to look at things.
The final one is just for added interest on your spread. It runs across the spine.

It is glued down at the upper and lower corner. The rest of it is open all the way through as you can see from the skewer I’ve stuck in there. I’m not sure what I’ll use it for. I could choose to layer something in the bottom left corner, overlapping the center piece just enough to prevent whatever I stick through the top from going all the way through. As I begin adding the actual items to the book, it will tell me.
Next week… Moveables and where to find the ‘extras’ that will bring your book together.
Creative Blessings
No comments:
Post a Comment