Showing posts with label ink. Show all posts

Wednesday, May 10, 2023

WOYWWW #727 - A Bit Behind and A Few Pictures

 Good morning, Crafty friends!

For those of you across the pond, I thoroughly enjoyed the Coronation of King Charles & Queen Camilla. I loved the mix of tradition and contemporary. There is a lot to be said for tradition. 

I do apologize for not getting round last week. That is usually my Sunday routine but since I didn't do anything but sit on the sofa in front of the television Saturday, I had to take a make up day. LOL I'll do better this week.

Let's start with my desk:


Leftovers from filming my Week 2 Challenge of the #KCDMayJJ23 series. Since the first Saturday of the month was National Scrapbooking Day, I am doing my take on Cabinet Cards and turning them in to 5x7 scrapbook layouts. I can attest to the fact that size doesn't matter in this case. Whether I'm doing a 12x12 or a 5x7, they take about the same amount of time. 
Here's a close-up of the card I did in this week's video:


I used digitals from an etsy shop - Weathered Textures and was inspired by THIS layout on Pinterest. I'm uploading the video for this as I type so if you want to see that, check out my YouTube channel later this afternoon. 

I'm dying papers this morning. I started with this:


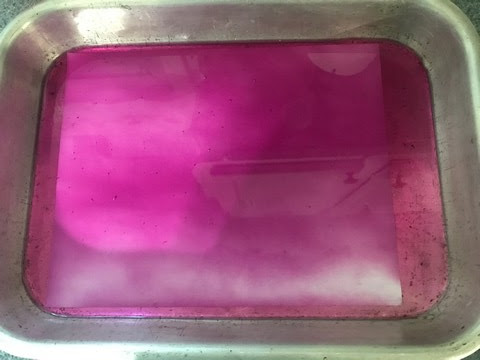
This is the second round of soak for this ink cartridge. I've dyed papers with it once then dropped the cartridge back into water and it's been soaking since April 24th.

This is the color I'm starting out with this morning:

Finally, I think Spring has finally arrived. We've been getting rain over night giving us lovely cool temperatures in the mornings. I really need to be out in the garden. With the arrival of spring, I have flower pictures: 


I've always wanted Clematis and i have three beautiful flowering plants in my yard. The first one is Little Duckling. I need to look up the names of the other two.

 That's it for my desk (and story) this week. Who's Miss Julia and why am I here?  When you are done visiting me in the Ozarks, please hop on over to Stamping Ground  for all the details. Miss Julia has a long list of other studios you can peek into. No standing on an up-turned milk pail to look in the window. We open the doors wide and welcome you.  Please leave your number and you'll be among the first on my list.

 Creative Blessings!

~ Kelly


Thursday, March 22, 2018

THURSDAY THREADS - Dish Towels Pt. 2

Last week, I stamped the Daisies onto paper then used the light box to transfer them to the dish towel with a graphite pencil. I thought I'd try a different technique this week.


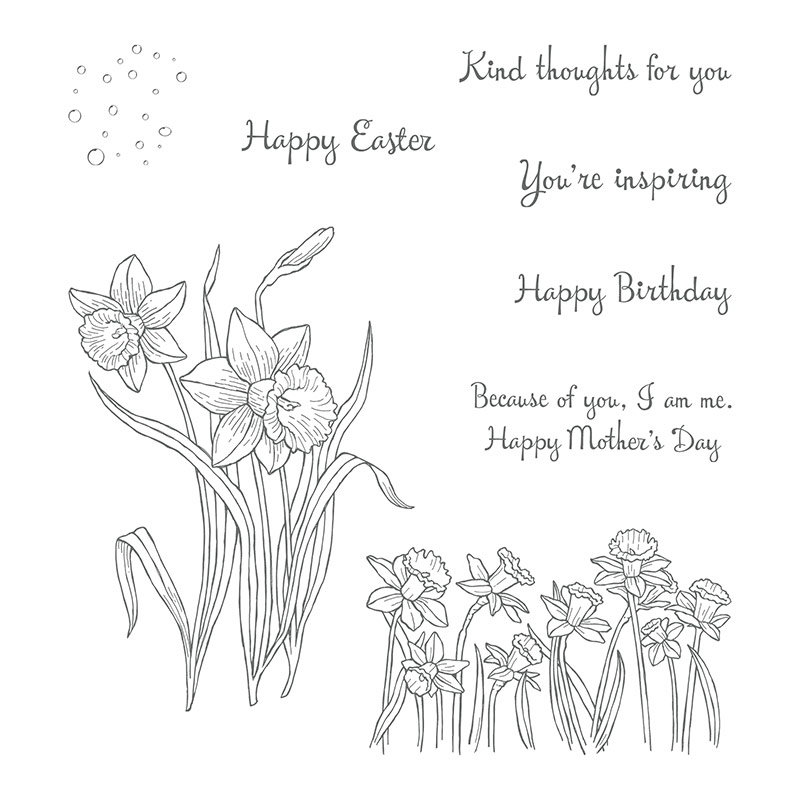
I am using You're Inspiring from the Spring Occasions Catalog.  
You’re Inspiring Clear-Mount Stamp Set

In place of the Daffodil Delight marker, I used the Crushed Curry I did have. The stamped color won't make any difference. Since Stampin' Write markers and inks are water soluble, I decided to stamp directly to the towel this time. If it all washes out, fabulous. If not, if I pay attention to what I'm doing then the lights should be covered anyway.

I did run into a snag last week so I don't have progress on the daisy dish towel. I can't find a single embroidery hoop in this house! Well, that's not true. I've not checked the tub in the old sewing room downstairs - the room where tubs of fabric are stored. I'm going to look down there today. If not, then I'll pick one up while I'm out shopping this weekend. I'd really love to have these done before Easter!

Creative Blessings!

Monday, July 28, 2014

MIXED MEDIA MONDAY


Okay, this one needs some work, but I enjoyed playing with the background colors. I call this Windswept Leaves.

Another Pinterest find. The technique calls for you to apply your ink to an acrylic blog, mist then swipe across your surface. Takes a little practice to not overdo the mist while having enough moisture to spread.

MISTED BACKGROUND
By Lori Vliegen at elviestudio

Create a background by putting inks on acrylic block, misting with water then swiping across surface.


RECIPE:
Ink: SU – Elegant Eggplant, Chocolate Chip, Always Artichoke, Cherry Cobbler,
      Cajun Craze, Tangerine Tango, More Mustard
      Memento Tuxedo Black
Stamps: Northwoods Rubber Stamps (Broom), Craftsmart (pumpkins & Oct. 31),
      Uknown (spider web, spider, Halloween)

Wanted to try fall colors for a ‘blown leaf’ of color effect.
I wish I'd taken this the step further and used the diluted gesso she suggests in the center before stamping the Halloween. But I'll do this again so can try that next time.

Monday, January 13, 2014

MIXED MEDIA MONDAY - Ink Tray


PSST... Click the bottom left corner of the Kizoa screen and you'll see a Play arrow that activates the music to go with the slide ;-) Afterwards, click the pause button if you don't want to hear the loop play again while you read the 'how to'.


After weeks of attempting to get this thing put together, I finally got the Ink Tray finished.

My Goal was to have all of my current ink spots w/ their duaber, the ink refills and a mister bottle within reach. Before whenever I wanted a color, I needed to pull out the little sterilite container with that color family.


While the sterilite's worked, kept everything in place and technically, took up less space, I wanted to see all of my colors. Also, in the sterilite, the water color crayon tin is under the spots box and there was no place to store the mister bottle. I want to make a glimmer mist for each color. So whatever color I'm working in, I have all the tools I need in one spot. 

I started by laying a sheet of paper out on the top of my ikea paper cabinet and sketching out the design, incorporating the size needed for the spots, the refill bottles and the mister bottle.
Then I cut all of the foam core pieces and begin the task of assembling. Two things to keep in mind:
1) I recommend a box cutter as opposed to an Xacto blade. The Xacto has a tendency to flex, altering the dimensions - speaking from experience here.
2) Use a hot temp glue gun with multi-temp or hot-temp glue sticks. KEEP YOUR FINGERS AWAY FROM THE GLUE... or you may find yourself minus finger prints should the cops ever need them for some reason. 

After everything was glued into place, I drenched 3/4 of a yard of good quality quilting fabric in a 2-1 homemade modge podge and draped it over the entire frame. Because of some of the inconsistencies I spoke of earlier, I had to really work the fabric into contact in some places. You will want to do this on a large flat surface covered with something like a cheap plastic table cloth or a large trash bag. This will keep your fabric from sticking to the table and easy removal after everything has dried. I did mine in the center of the dining room table and turned on the ceiling fan. Mine dried solid in about 8 hours but I left it over night.

The other useful tip about covering the whole thing is then the fabric in the openings was nice and crisp, making it easier to cut those pieces away with the exacto knife. I wanted the top to offer a pop of color... not just the white on white.

To attach the bottom into place, I flipped the frame over and ran a bead of Aleene's Tacky along every piece of the ribbing then pressed the base into place. With the tray still upside down, I put the folding table on top (still collapsed) and left it sit over night. this provided a consistent weight over the entire tray and left it undisturbed for the glue to really take hold.

The tray not only houses the inks but I built in a slot in the back to hold the watercolor crayon box, too. And while this didn't turn out 'fancy' pretty, it is going to serve the purpose. 

Next task... finish the SU embellishment storage boxes.