Showing posts with label photos. Show all posts

Wednesday, February 28, 2024

WOYWW #769 - Photo Heavy

 Good morning, crafty friends.

If you recall from my WOYWW #767 Post, I talked about the program I'm taking called Your Path Forward... a game board strategy for getting big projects out of the way. 

Before Bob left last week, he helped me set up the two tables I needed to begin the project.

Monday, I dove in to the first actual step... sorting the gazillion stamp sets into categories.


The following photos are NOT for the faint at heart but it's why I've started this program.

I've had most of my stamps in a tub since I rearranged the filming corner 2 years ago. Since then I've also added new stamp sets that were available for a limited time through Stampin' Up!  This is where I am:
lined up in front of the sofa

on the sewing table and in 2 cubbies behind

on the step ladder
(i'd moved them from the sewing table looking for a stamp set)

After 2 hours of sorting by category, 37 photo boxes and 6 stacks later, this is where I stopped:


Alpha numeric, celebration, mixed media, mixed holidays, ocean/ water


4 stack collection top left is all Christmas. Then there's food, garden (the 2 towering stacks plus smaller one to the right, Halloween, mixed holidays

Large multi-stack of sentiments are on a table all on their own. 

Stamp set count: .....

PLEASE LEAVE YOUR GUESS IN YOUR COMMENT. 

That's it for my desk (and story) this week. Who's Miss Julia and why am I here?  When you are done visiting me in the Ozarks, please hop on over to Stamping Ground for all the details. Miss Julia has a long list of other studios you can peek into. No standing on an up-turned milk pail to look in the window. We open the doors wide and welcome you.  Please leave your number and you'll be among the first on my list.


Creative Blessings!

~ Kelly


via GIPHY

Monday, May 22, 2023

CARDS AND OTHER PRETTIES

 Good morning, friends!

Kateri, one of the Spectrum Art Creations & Friends FB group moderators, went on a cruise to Europe last fall and took some amazing photographs. So she offered up a challenge for us to create something with any of the photos. Our deadline is today - her wedding anniversary.

I chose four of the photos to manipulate into pretties (at least in my opinion). Note that while I did do the castle on Friday and the other three on Saturday, I didn't wait til the last minute. I plan everything out in my head for days before actually creating the project(s).

Since it's Monday, let's start with the card:


The background is of a terra cotta roof. Do you see what's hiding between the tiles?  I also used a Vintage fashion paper doll from Spectrum Art Creations... similar to this pack HERE.

I created the font in word. I may swap that lady out for one backed in white rather than black but I wanted to help draw out the item on the roof.

Next I used a photo she took of some mushrooms:


I placed the photo to the back of the frame then printed a second photo to fussy cut out just the mushrooms. I distressed the edges of the fussy cut pieces with a brown ink then layered them on top of the background photo with dimensionals. At the base of the photo, I mimicked the ground cover with some dried moss and pieces of acorn then added a couple of plastic ants, Tim Holtz tiny bone pieces and a gnome charm. (If you click on the photo to enlarge the image, you will see the tiny gnome hiding amongst the ground cover). I added a lady bug to the larger mushroom.

To make the layers fit into the frame, I put a double layer of dimensional tape all around the parameter of the photo. The tape is hidden by the frame. This gave me a bit of breathing room between the glass and the display. I simply eliminated the two pieces of cardboard backing that were in the vintage frame.

Number three:


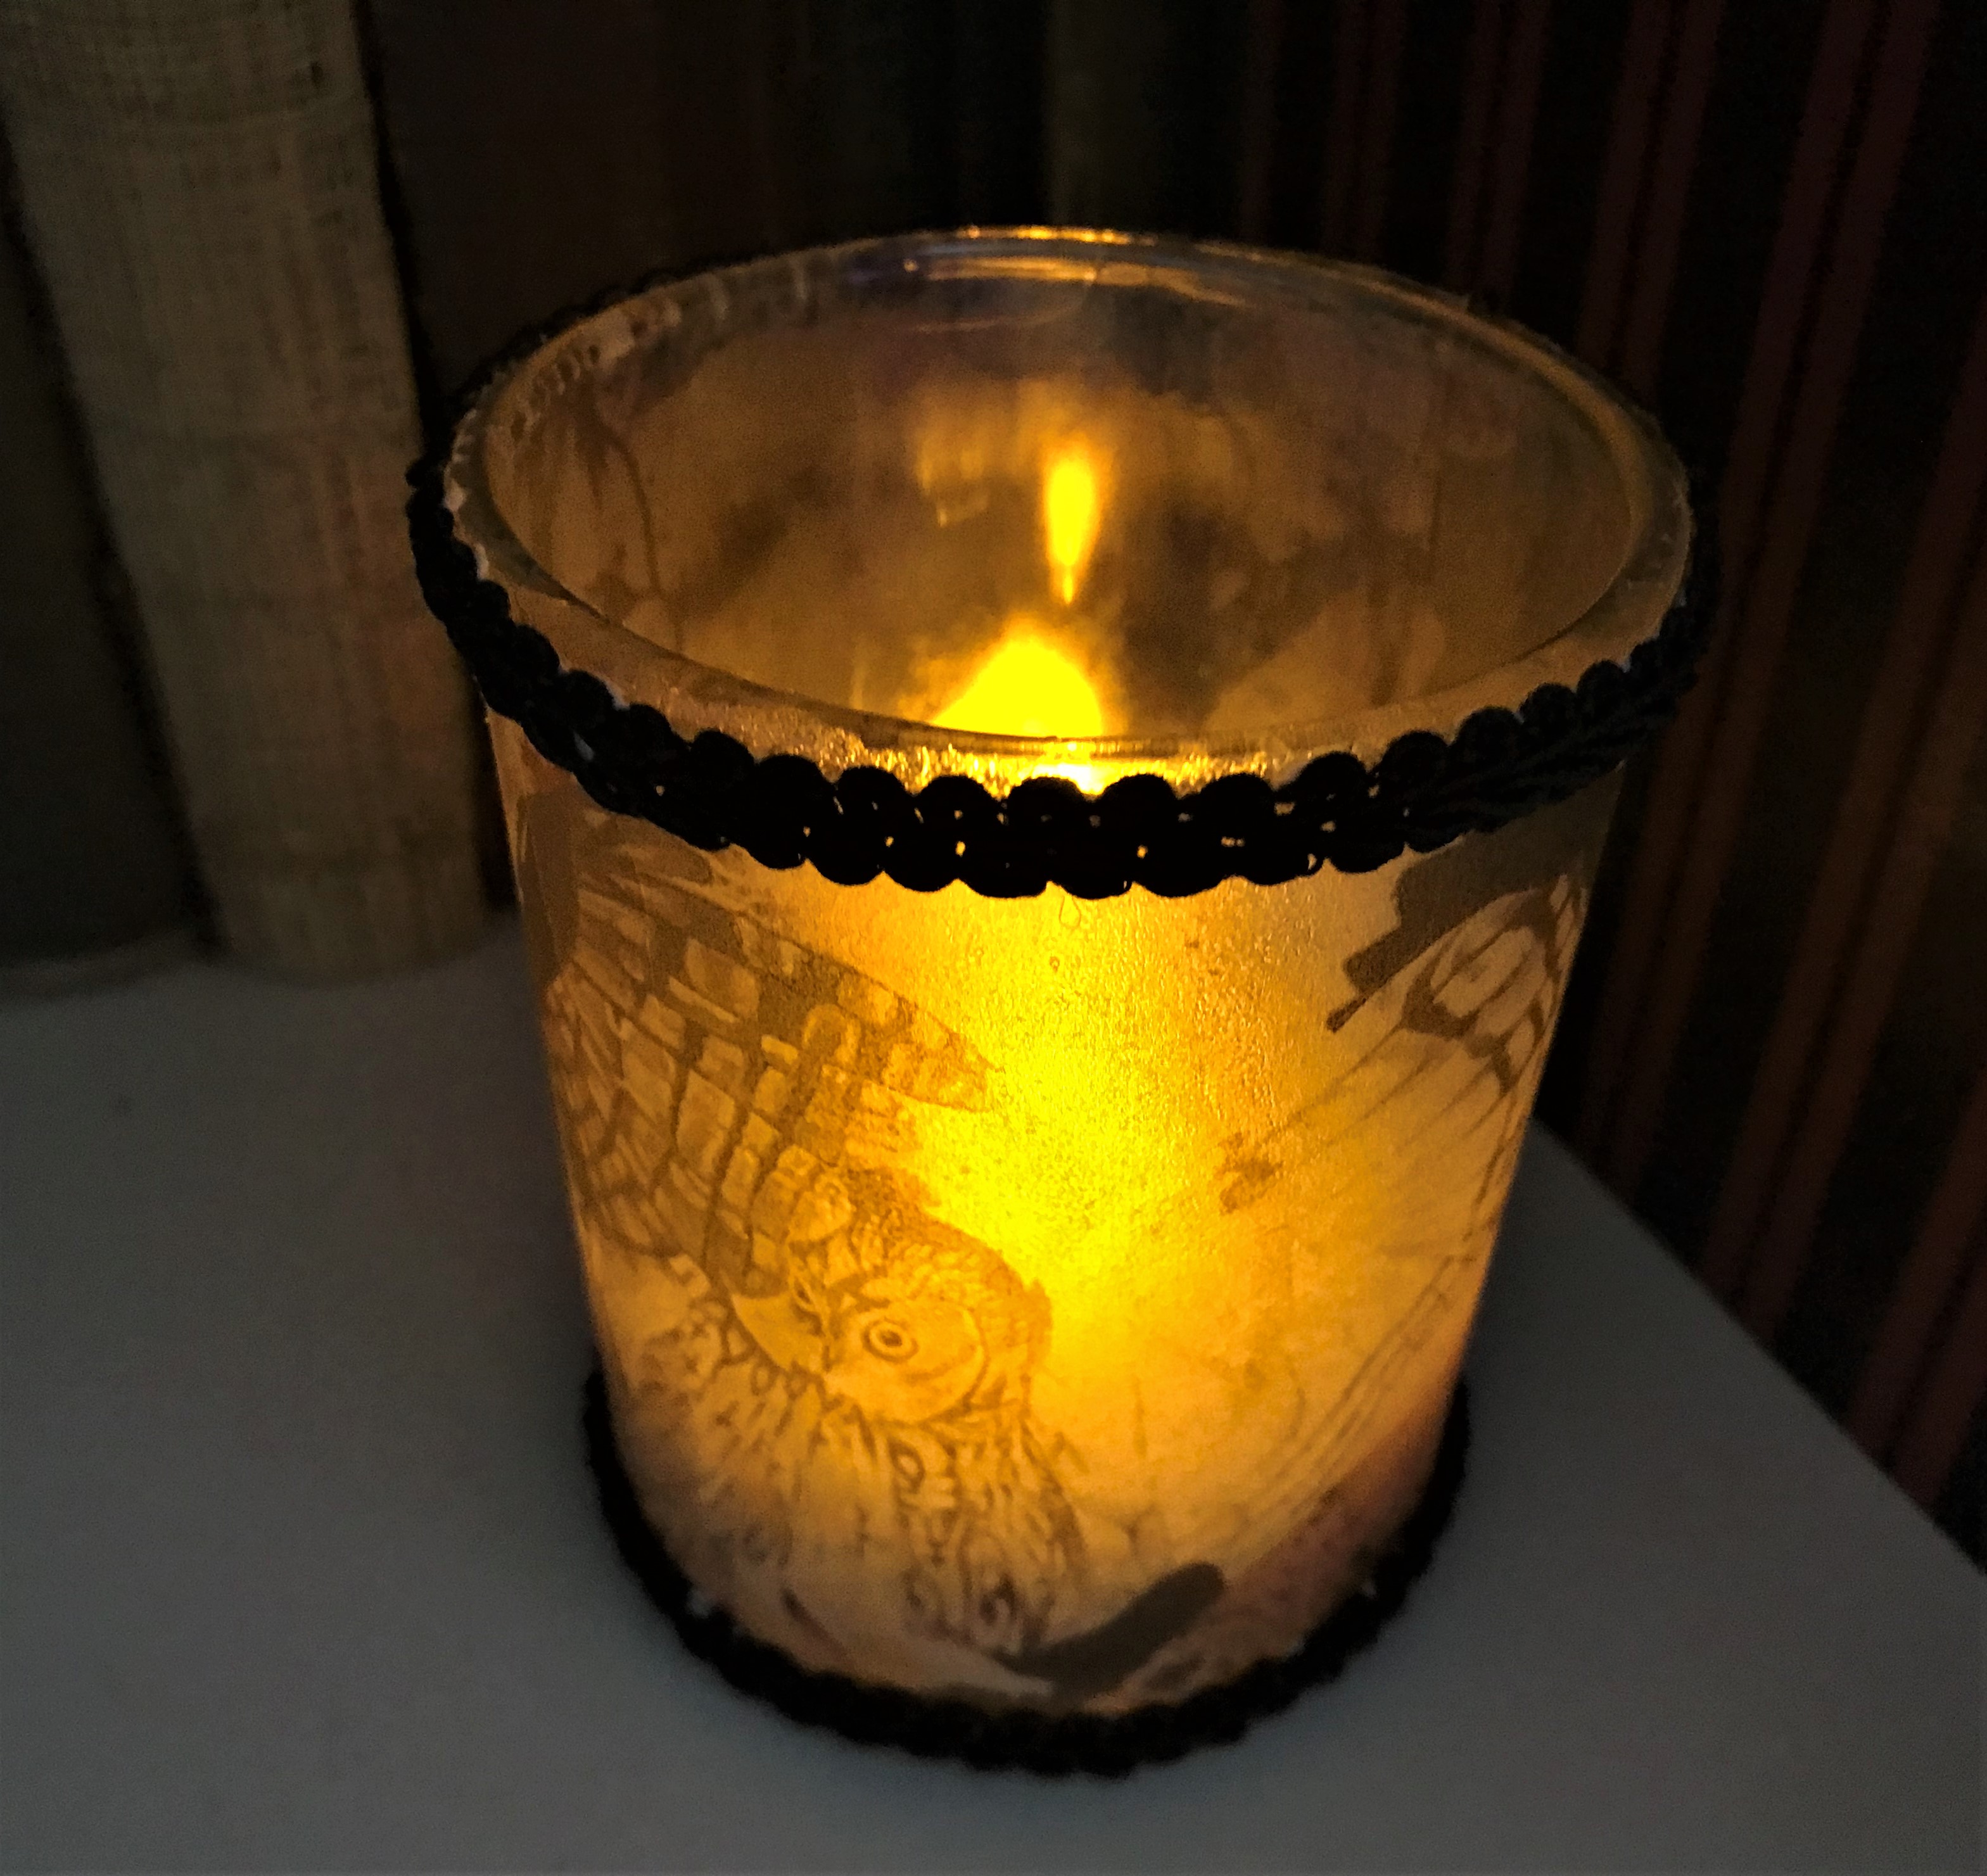
This photo was of one of the many beautiful art pieces Kateri saw on her travels. The owl seems to be warding off a crow/ raven flying past him. The raven is on the back side of the votive cup. I printed the image on vellum and adhered to the outside of a votive cup from Dollar Tree then added French Gimp Braid Trim trim from Spectrum Art Creations.  (Note: they appear to be sold out of the brown but I've linked the white, which you can dye any color)

Here's the votive with an LED candle:


Finally, the largest piece:


I loved the picture of this castle and knew I wanted add more dimension. 
I used a black shadow box frame. First, I printed the photo out at 8x10 onto photo paper and put into the frame. I printed out a second one on photo paper so that I could fussy cut out the bird. I mounted him on two layers of black cardstock, cut him out then set aside. 
The castle was printed again but on Vellum and left to dry for a couple of days. I didn't want the ink to move/ smear. When it was dry, I fussy cut out just the castle (away from the sky/ tree background) then adhered to the outside front of the glass with Aleene's Spray Adhesive. Then I put the bird in place over the one on the print with a strip of black dimensional from Stampin' Up! The dimension appears to change depending on how much or little the frame is reclined. 

I'll be back on Wednesday for the weekly blog hop. Wait til you see my work table!!! Before AND After shots coming!

Creative Blessings!
~ Kelly


Saturday, April 9, 2022

SCRAPBOOK SATURDAY - Pocket Layout - Flowering Fields

 Good morning, everyone!

We have a beautiful, sunny day in the Ozarks. The 60s* in the forcast for today is a big change from the freeze warning we had last night. As Bob said, we'll probably go from freezing cold to super hot temps - just as in past years. I am just anxious to get out in the garden. 

I'm continuing my series with the Flowering Tulips Bundle and the Flowering Fields DSP today by getting back in the swing of Scrapbook Saturday.  I'll leave a complete product list down below. Heres the layout:


I've used a 2 over 1 and a 1 over 2 layout. This creates a flow and balance. The layout provides room for at least three pictures (possibly a 4th) as well a journaling space. 

I stamped 2 of the tulips and leaves from the Flowering Tulips stamp set to add as an element and help anchor 2.5" x 3.5" photos. I still need to search Adrian's flashdrive and find those. I'm just not a fan of showing my grandchildren's photos on the internet. 

For a quick back story:
When Sue moved back home about fourteen years ago while she got her feet underneath her again, Adrian was approximately 18 months old. That was the first spring in our forever home and I'd planted tulips along the west fence the previous fall. The tulips all came up, creating a beautiful strip of color along the fence. I have pictures of Adrian squating in the grass, with her nose deep in a pinkish/ red tulip she had just plucked. Her first ever picking of a flower. I think that was the moment my precious granddaughter connected with Mother Earth. I knew when I decided to do scrapbook layouts with Flowering Tulips and Flowering Fields, this layout would be for her. 

Here's a list/ link to the products I used in this layout:


When I find those pictures, I'll share one in a future post.

Creative Blessings
~Kelly