Good morning, friends!
Kateri, one of the Spectrum Art Creations & Friends FB group moderators, went on a cruise to Europe last fall and took some amazing photographs. So she offered up a challenge for us to create something with any of the photos. Our deadline is today - her wedding anniversary.
I chose four of the photos to manipulate into pretties (at least in my opinion). Note that while I did do the castle on Friday and the other three on Saturday, I didn't wait til the last minute. I plan everything out in my head for days before actually creating the project(s).
Since it's Monday, let's start with the card:

The background is of a terra cotta roof. Do you see what's hiding between the tiles? I also used a Vintage fashion paper doll from Spectrum Art Creations... similar to this pack HERE.
I created the font in word. I may swap that lady out for one backed in white rather than black but I wanted to help draw out the item on the roof.
Next I used a photo she took of some mushrooms:

I placed the photo to the back of the frame then printed a second photo to fussy cut out just the mushrooms. I distressed the edges of the fussy cut pieces with a brown ink then layered them on top of the background photo with dimensionals. At the base of the photo, I mimicked the ground cover with some dried moss and pieces of acorn then added a couple of plastic ants, Tim Holtz tiny bone pieces and a gnome charm. (If you click on the photo to enlarge the image, you will see the tiny gnome hiding amongst the ground cover). I added a lady bug to the larger mushroom.
To make the layers fit into the frame, I put a double layer of dimensional tape all around the parameter of the photo. The tape is hidden by the frame. This gave me a bit of breathing room between the glass and the display. I simply eliminated the two pieces of cardboard backing that were in the vintage frame.
Number three:

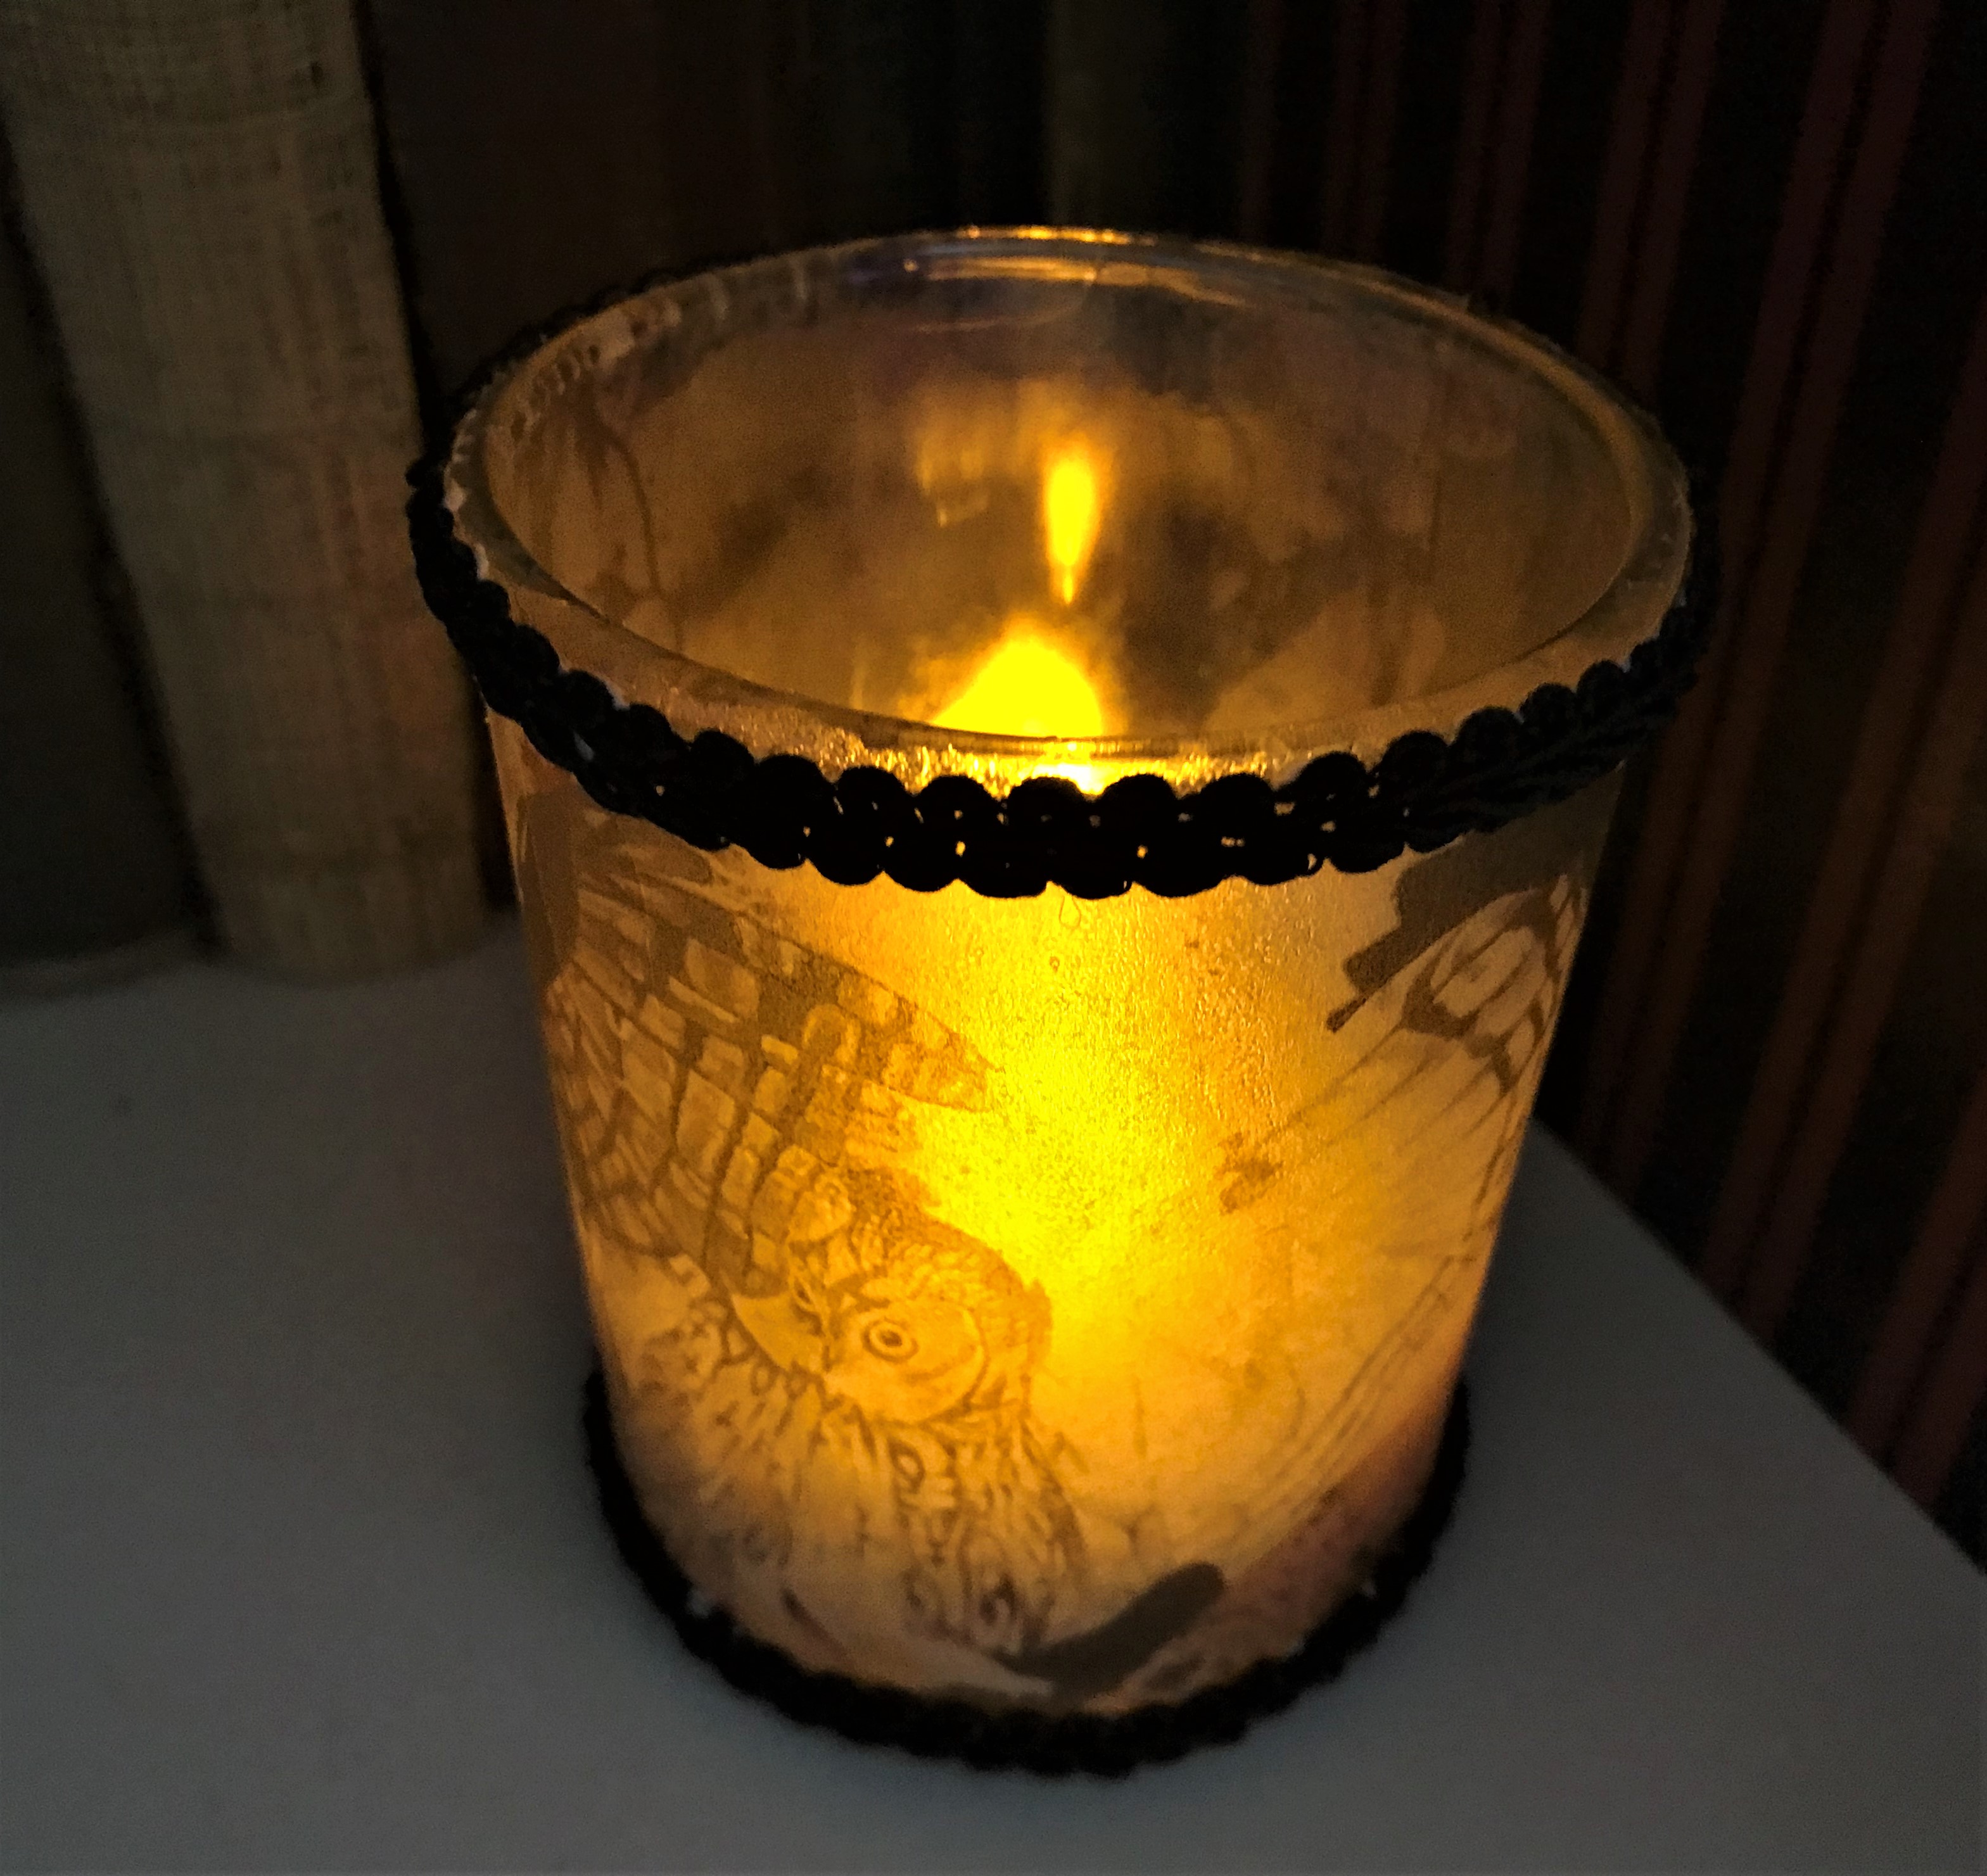
This photo was of one of the many beautiful art pieces Kateri saw on her travels. The owl seems to be warding off a crow/ raven flying past him. The raven is on the back side of the votive cup. I printed the image on vellum and adhered to the outside of a votive cup from Dollar Tree then added French Gimp Braid Trim trim from Spectrum Art Creations. (Note: they appear to be sold out of the brown but I've linked the white, which you can dye any color)
Here's the votive with an LED candle:
Finally, the largest piece:

I loved the picture of this castle and knew I wanted add more dimension.
I used a black shadow box frame. First, I printed the photo out at 8x10 onto photo paper and put into the frame. I printed out a second one on photo paper so that I could fussy cut out the bird. I mounted him on two layers of black cardstock, cut him out then set aside.
The castle was printed again but on Vellum and left to dry for a couple of days. I didn't want the ink to move/ smear. When it was dry, I fussy cut out just the castle (away from the sky/ tree background) then adhered to the outside front of the glass with Aleene's Spray Adhesive. Then I put the bird in place over the one on the print with a strip of black dimensional from Stampin' Up! The dimension appears to change depending on how much or little the frame is reclined.
I'll be back on Wednesday for the weekly blog hop. Wait til you see my work table!!! Before AND After shots coming!
Creative Blessings!
~ Kelly
Hi Kelly, thanks so much for visiting my blog! Lovely to hear from you. Hope you are well. Dental issues now dealt with, thank goodness - never want to go through an ordeal like that again!! I absolutely love what you've done in this challenge, particularly the castle with the dimensions, and printing on the vellum. I wish photos did this sort of thing more justice as it must be fantastic in the flesh! I aso love the votive light with the owl. All very creative and unusual.
ReplyDeleteYour creations are all so lovely. Beautiful work on the castle.
ReplyDeleteFabulous creations Kelly
ReplyDelete